Step 1:
Note: Configuration tab is available only for owners and admins
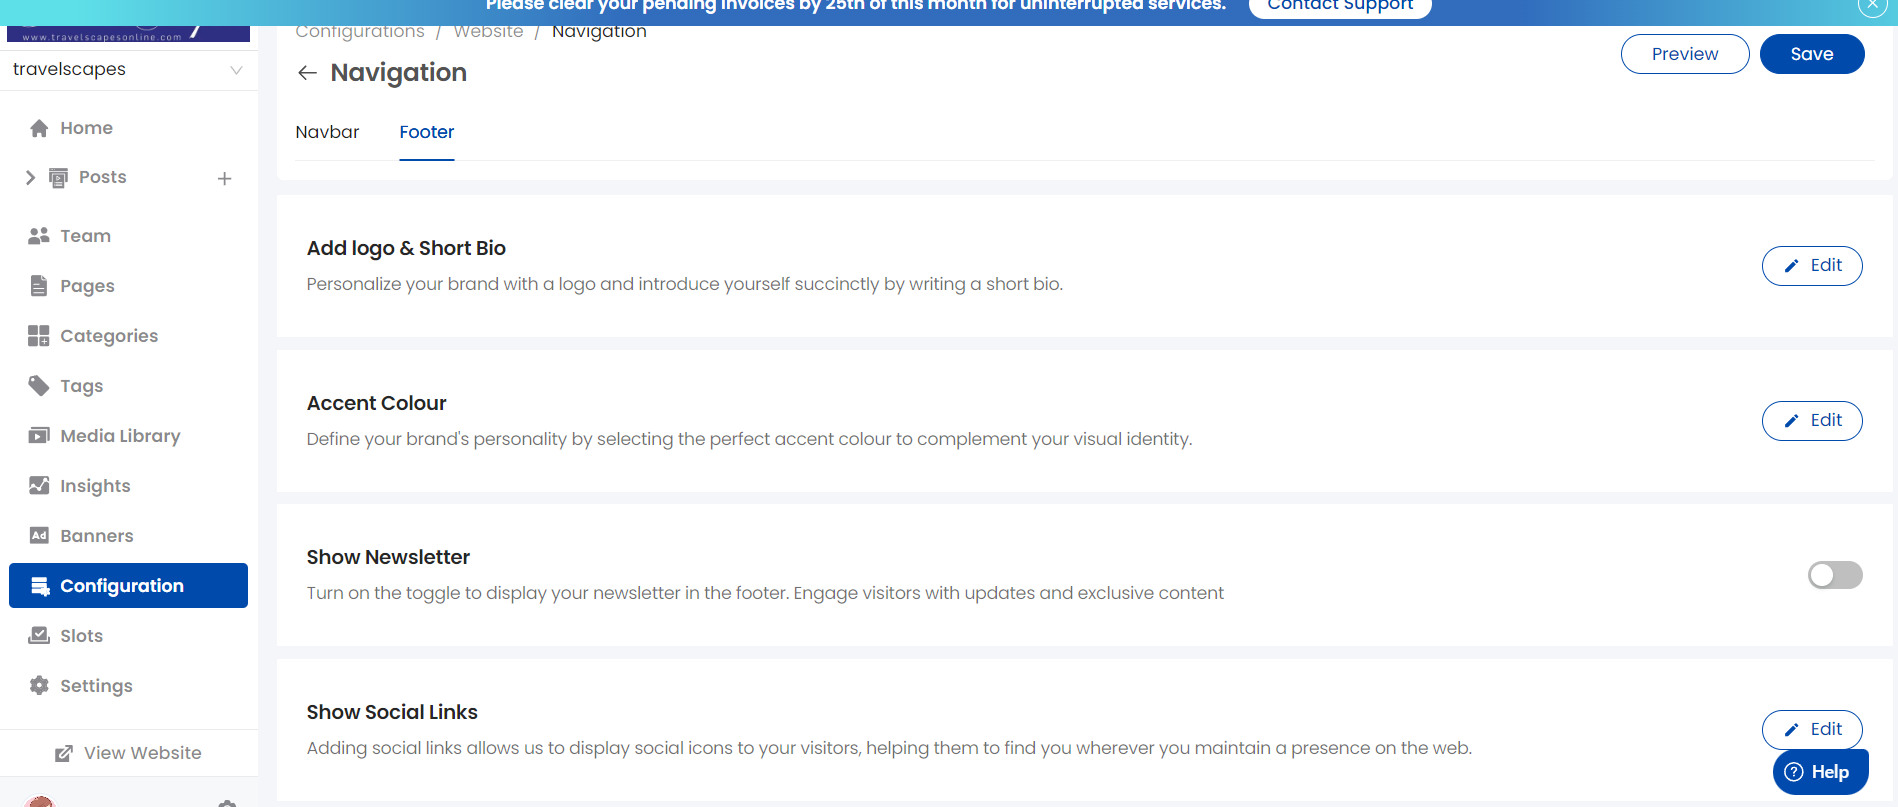
Step 2: Add Logo and Short Bio for your brand/website. Click Update Preview to preview the footer

Footer Preview is available at the bottom as shown below

Note: For any changes done in footer, ensure to click save on the top to reflect in website as shown below

Step 3: Set the following,
- Accent color - footer background color. Set the accent color representing your brand
- Text color - Text color of footer
- Once done, click Update Preview

Step 4: Enable the toggle button to display the subscribe to Newsletter option in the footer for your readers
 Example as shown below

Step 5: Add social profile URLs in the fields provided below. Anytime the social links can be added/updated/deleted. Once done, click Update Preview

Step 6: Having any mobile apps published in the Android/IOS app store, you can provide the URL of the app here as shown below. Once done, click Update Preview

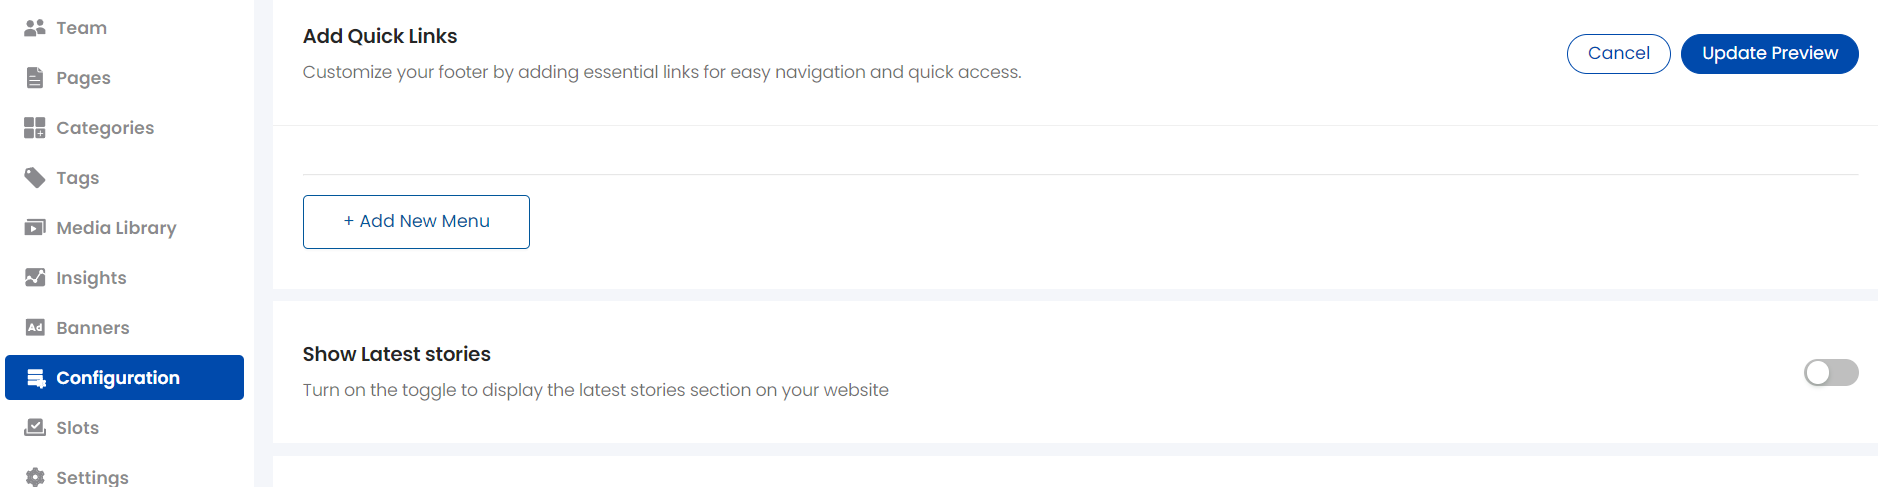
Step 7: You can add quick links using the "Add Quick Links" option.
- Click Add New Menu and enter the menu title. Eg: Quick Links

- Click Add Menu Item -> Enter the menu item name and URL

- Dashboard: Similar to the below-shown example

- Once added, click "Update Preview" to preview the footer and click Save to apply these changes in website
- Website: Quick links as shown below


Step 8: Add other affiliate/sister website link as shown below

Once done, click Update Preview

Step 9: Finally the Copyright Text

Step 10: All these changes can be previewed using Footer Preview option as shown below

Step 11: Once done with the preview, click Save available on the top to apply the changes in website

Website: Finally the Footer in website!! This way you can add/update/delete items in footer anytime which is set to be self-serve in the dashboard

Was this article helpful?
That’s Great!
Thank you for your feedback
Sorry! We couldn't be helpful
Thank you for your feedback
Feedback sent
We appreciate your effort and will try to fix the article